
Creating a gallery wall is a fantastic way to personalize your space and showcase your favorite art, photographs, and collectibles. Whether you’re a seasoned decorator or a novice, following these steps will help you craft a stunning gallery wall that reflects your style and creativity. Here’s a comprehensive guide by WeDezine, your trusted interior design partner in Shivamoga, on how to create the perfect gallery wall.
How to Create a Gallery Wall: A Step-by-Step Guide
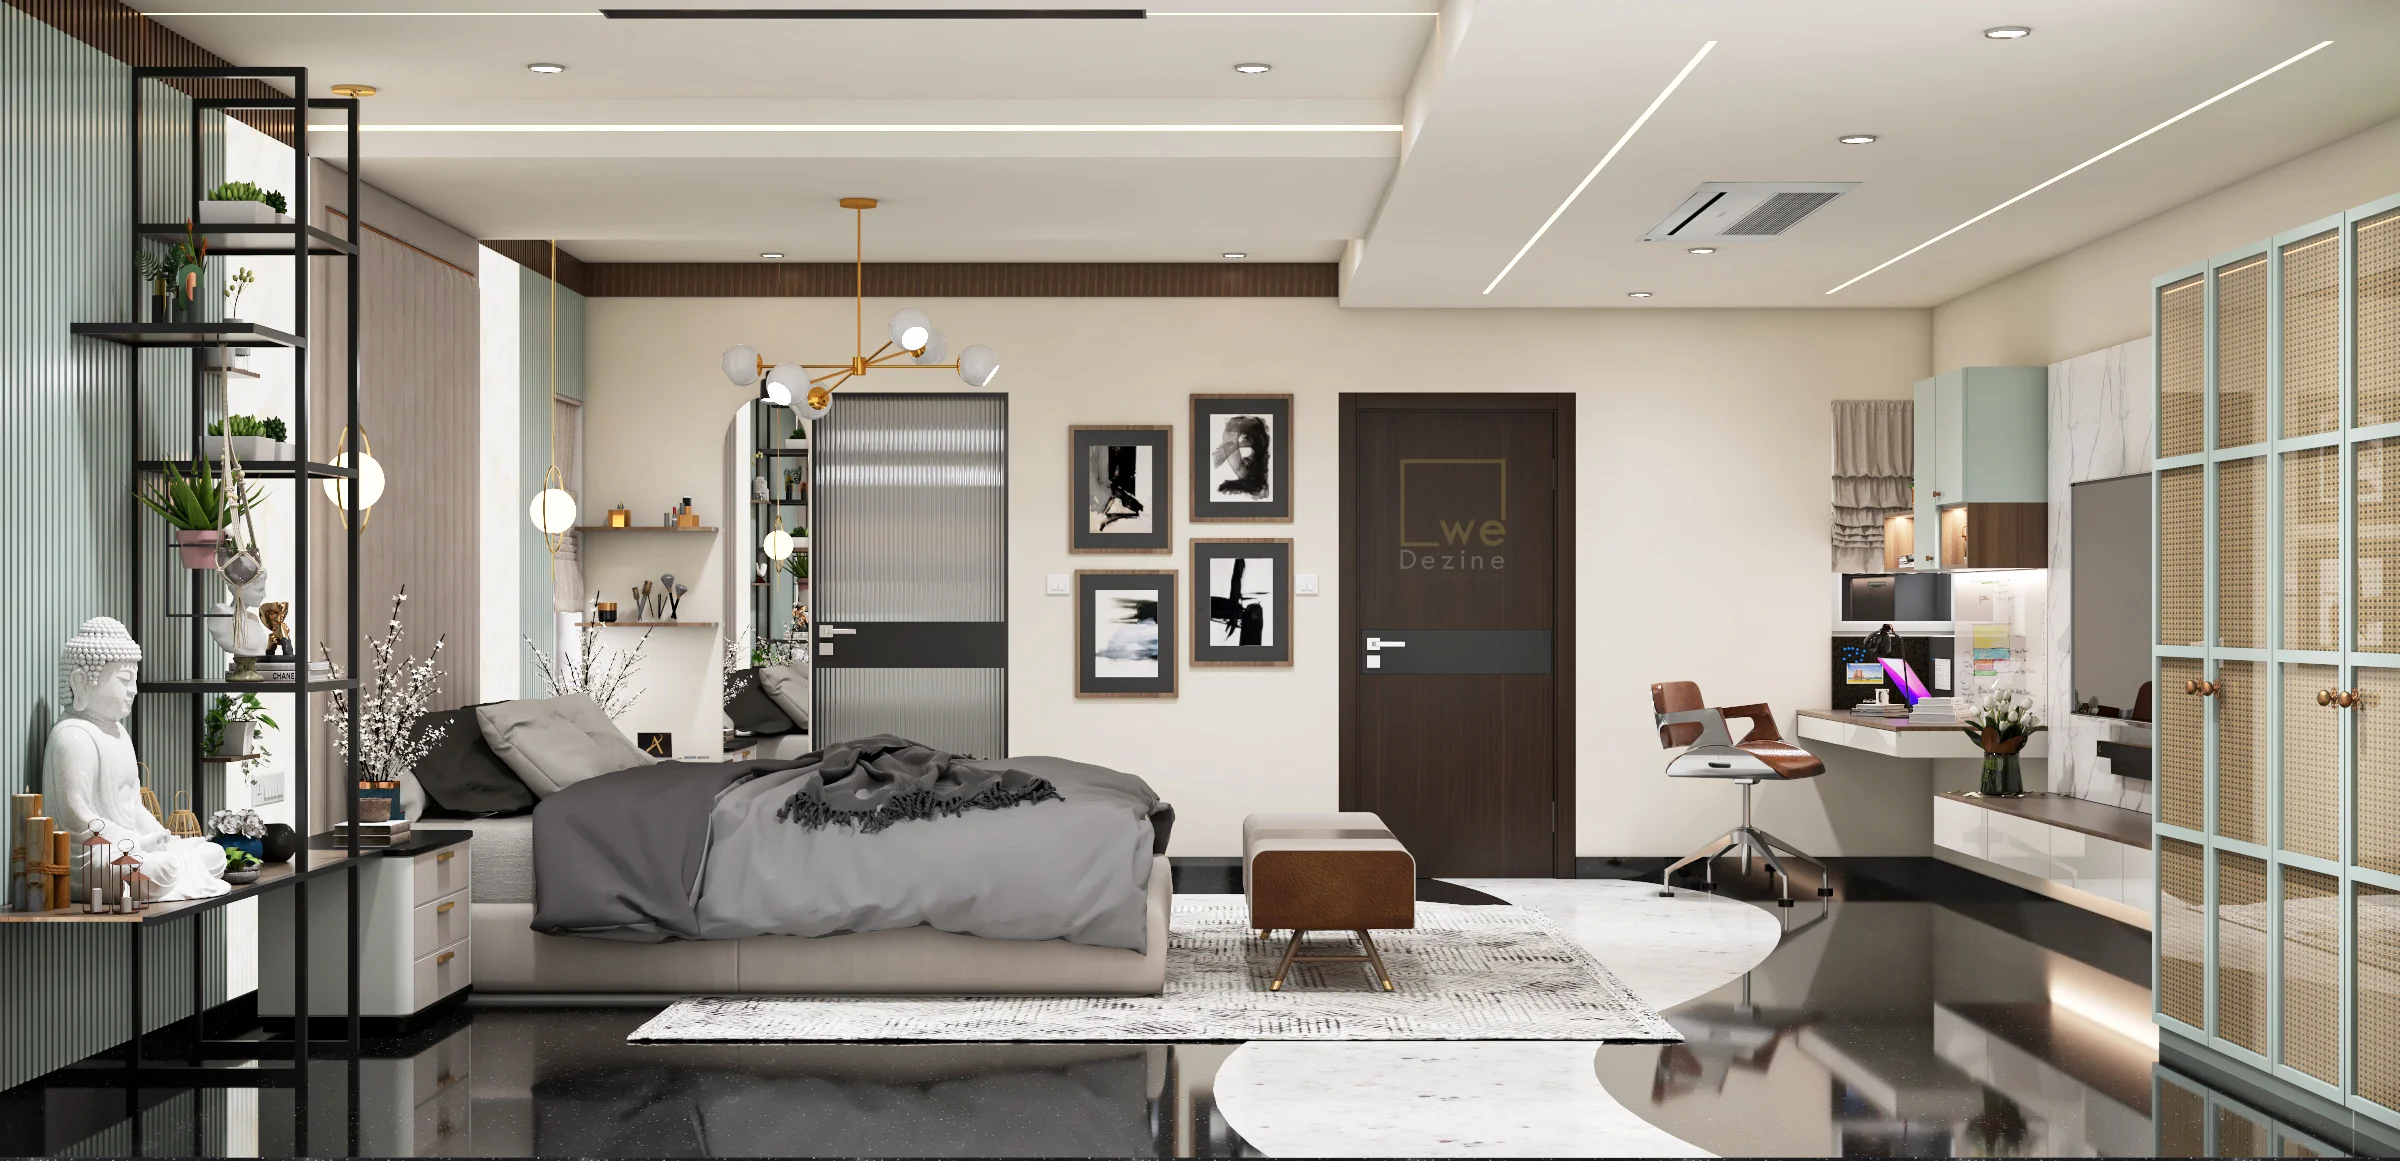
Step 1: Choose the Right Wall
Selecting the perfect wall for your gallery is crucial. Consider spaces such as:
- Living room walls above sofas or mantels.
- Hallways for a captivating walk-through experience.
- Staircases for a dynamic and progressive display.
- Bedrooms above headboards for a personal touch.
Ensure the wall has sufficient space and is well-lit to highlight your artwork.
Step 2: Gather Your Art and Photos
Collect pieces that you love and want to display. These can include:
- Framed art (paintings, prints, sketches).
- Photographs (family, travel, portraits).
- Memorabilia (concert tickets, postcards, maps).
- Textiles (small woven pieces, fabric art).
Mixing different types of items adds depth and interest to your gallery wall.
Step 3: Plan Your Layout
Before you start hammering nails into your wall, plan your layout. Here are some layout ideas:
- Symmetrical grid: For a clean and organized look.
- Asymmetrical arrangement: For a more eclectic and dynamic display.
- Centered around a focal piece: Anchor your gallery with one large item and arrange smaller pieces around it.
Lay the pieces on the floor or use paper cutouts to visualize different arrangements.
Step 4: Choose Frames and Accessories
Selecting the right frames is essential for a cohesive look. Consider these tips:
- Consistent style: Use frames of the same color or material for a uniform look.
- Mix and match: Combine different frame styles for an eclectic feel.
- Incorporate accessories: Add shelves, mirrors, or other decorative items to enhance your gallery wall.
Frames and accessories should complement the overall theme of your room.
Step 5: Measure and Hang
Once you have your layout planned, it’s time to hang your pieces. Follow these steps for a flawless execution:
- Measure and mark: Use a measuring tape and level to mark where each piece will go.
- Start with the center: Begin hanging pieces from the center and work your way outwards.
- Use appropriate hardware: Ensure you use the right hooks and nails for the weight of your pieces.
- Adjust as needed: Step back and make adjustments to ensure everything is aligned and balanced.
Step 6: Add Personal Touches
Personalize your gallery wall with unique touches that reflect your style. Consider:
- Mixing textures: Combine different textures like wood, metal, and fabric.
- Adding greenery: Small plants or botanical prints can bring life to your gallery wall.
- Incorporating lighting: Use picture lights or sconces to highlight your artwork.
Personal touches will make your gallery wall uniquely yours.
Step 7: Enjoy Your Gallery Wall
Once everything is in place, take a moment to admire your work. A well-designed gallery wall not only enhances your space but also tells a story through the art and photos you’ve chosen.
Final Thoughts
Creating a gallery wall is a creative and rewarding project that adds character and warmth to any room. By following these steps, you can design a gallery wall that is both visually stunning and deeply personal. At WeDezine, we’re here to help you bring your interior design visions to life. Contact us for more expert tips and personalized design services.
